Tips and Tricks
Marketing Your Design Work - Tips on Photographing Reflective Surfaces
“How do I reach new customers?” is a fundamental question that rings eternal for every business owner. As a designer, the best tool you have to gain new work is beautiful, well put together examples of your previous work. The perfect picture of your designs can act as your best marketing piece to reach new customers. If you’re a do-it-yourselfer in terms of marketing, this blog will help you in taking on one of the more difficult tasks of photography – shooting reflective surfaces.
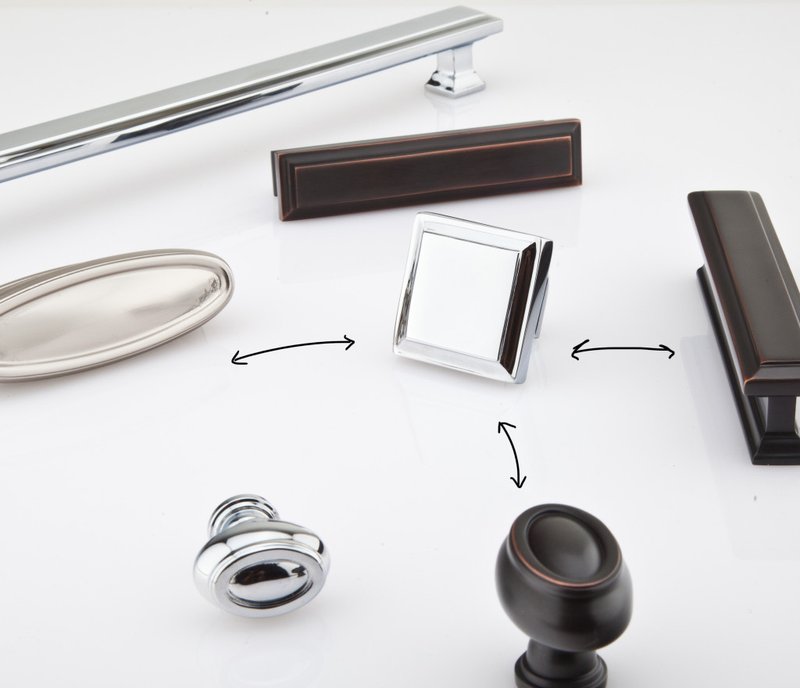
Chrome, polished nickel and other surfaces that shine are extraordinarily popular today. As beautiful as they are in a design, these materials prove wily subjects for photography. Many products that have a polished chrome or nickel look will tend to have intricate details to go along with the reflective surface, like ridges, curves, bevels, and sharp edges.
First tip: The shape of the hardware/product will tell you how you need to set up your lights, where to stand in relation to the product, and what you want to reflect or not reflect into it.
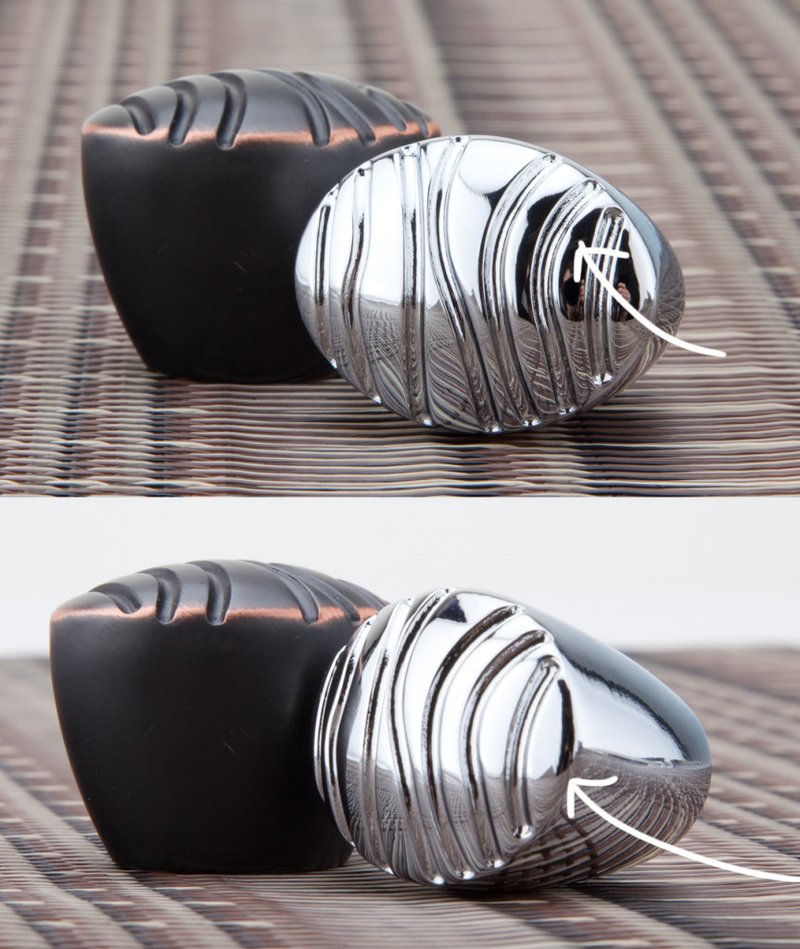
Second tip: Reflective surfaces will show anything within close range. Makes sense, right? So, put at least 3 feet between you and the product you are shooting. If you can, put distance between yourself and the product; it will help to eliminate unwanted reflections. It also helps to wear neutral colors if you can’t shoot from a distance.
The last thing you want in a close up shot of your beautiful chrome piece is a reflection of a person holding a camera.
That being said, some reflections can actually provide an interesting enhancement to your photograph.
These surfaces can also be very responsive to the light in a room. For example, yellow lights will make them appear more yellow themselves in tone. They will take on the coloring of the room and lighting in it, which may not provide an accurate portrayal of how the product actually looks.
Final tip: Be mindful of the light! A good soft box can help create the right lighting. If you don’t have one, try to get as much natural light in the room as possible. You can also use a combination of natural and artificial light. The goal is to fill in every shadow of the composition.
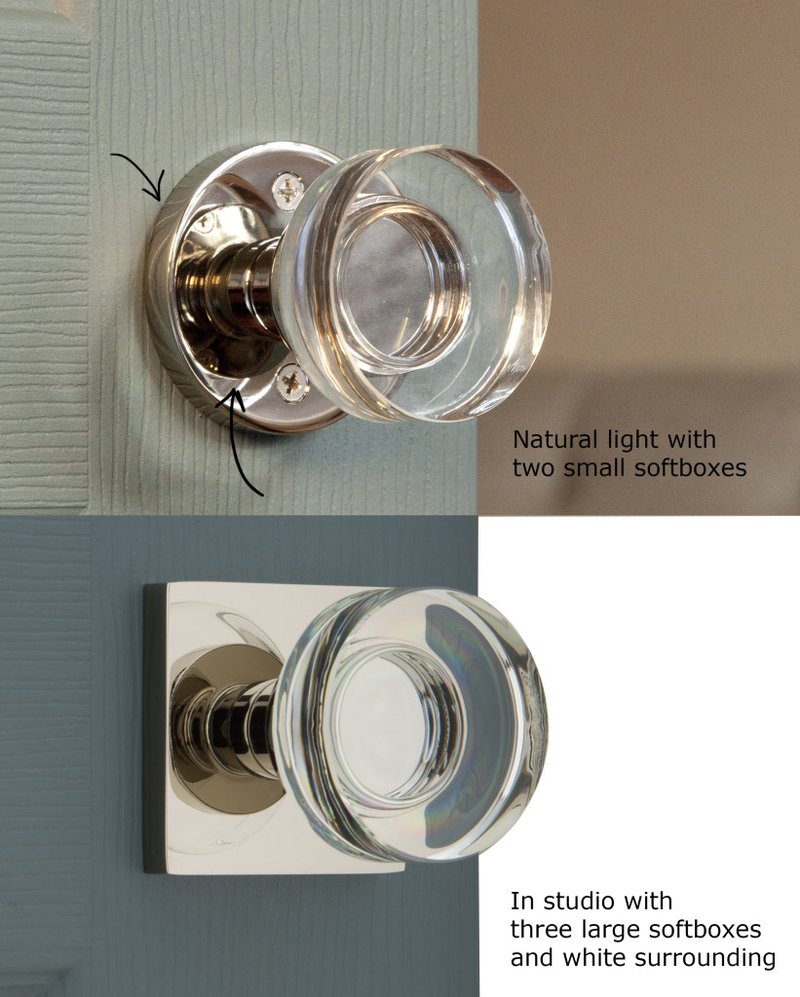
Use white boards to surround the reflective material and bounce light off of them instead of directly at the actual reflective surface you’re photographing. This will create soft, clean reflections that do not capture the image and color of other objects in the room.
If all else fails, you may need to color correct in post-production with a photo editing software.
In terms of photography, the devil is in the details, but with a few of these tips in mind you can easily create a beautiful portfolio of your best work.
Good luck and happy shooting!
From the collaborative minds of